Installation
Before you start, you will need:
- A USB flash drive with at least 8 GB of storage.
- An internet connection to download the necessary files.
- A backup of your important data. The installation process can erase your hard drive.
1. Create a Bootable USB Drive
First, you need to download the ISO file of the PikaOS. Visit the PikaOS download page and download the latest version. For beginners comming from Windows, we recommend downloading the KDE version.
WARNING
On PikaOS download page, there is a disclaimer that Nvidia ISOs should only be used for GTX 1650 or later. GTX 1080ti, earlier models and AMD and Intel GPUs should use the regular ISO. Assuming you're comming from Windows 10, you can check what GPU you have in task manager under the "Performance" tab.
After downloading the ISO, you need to write it to a USB drive to make it bootable.
- Download a flashing tool. BalenaEtcher is a good, cross-platform option that works on Windows, macOS, and Linux.
- Open BalenaEtcher.
- Select "Flash from file" and choose the
.isofile you downloaded. - Select "Select target" and choose your USB drive.
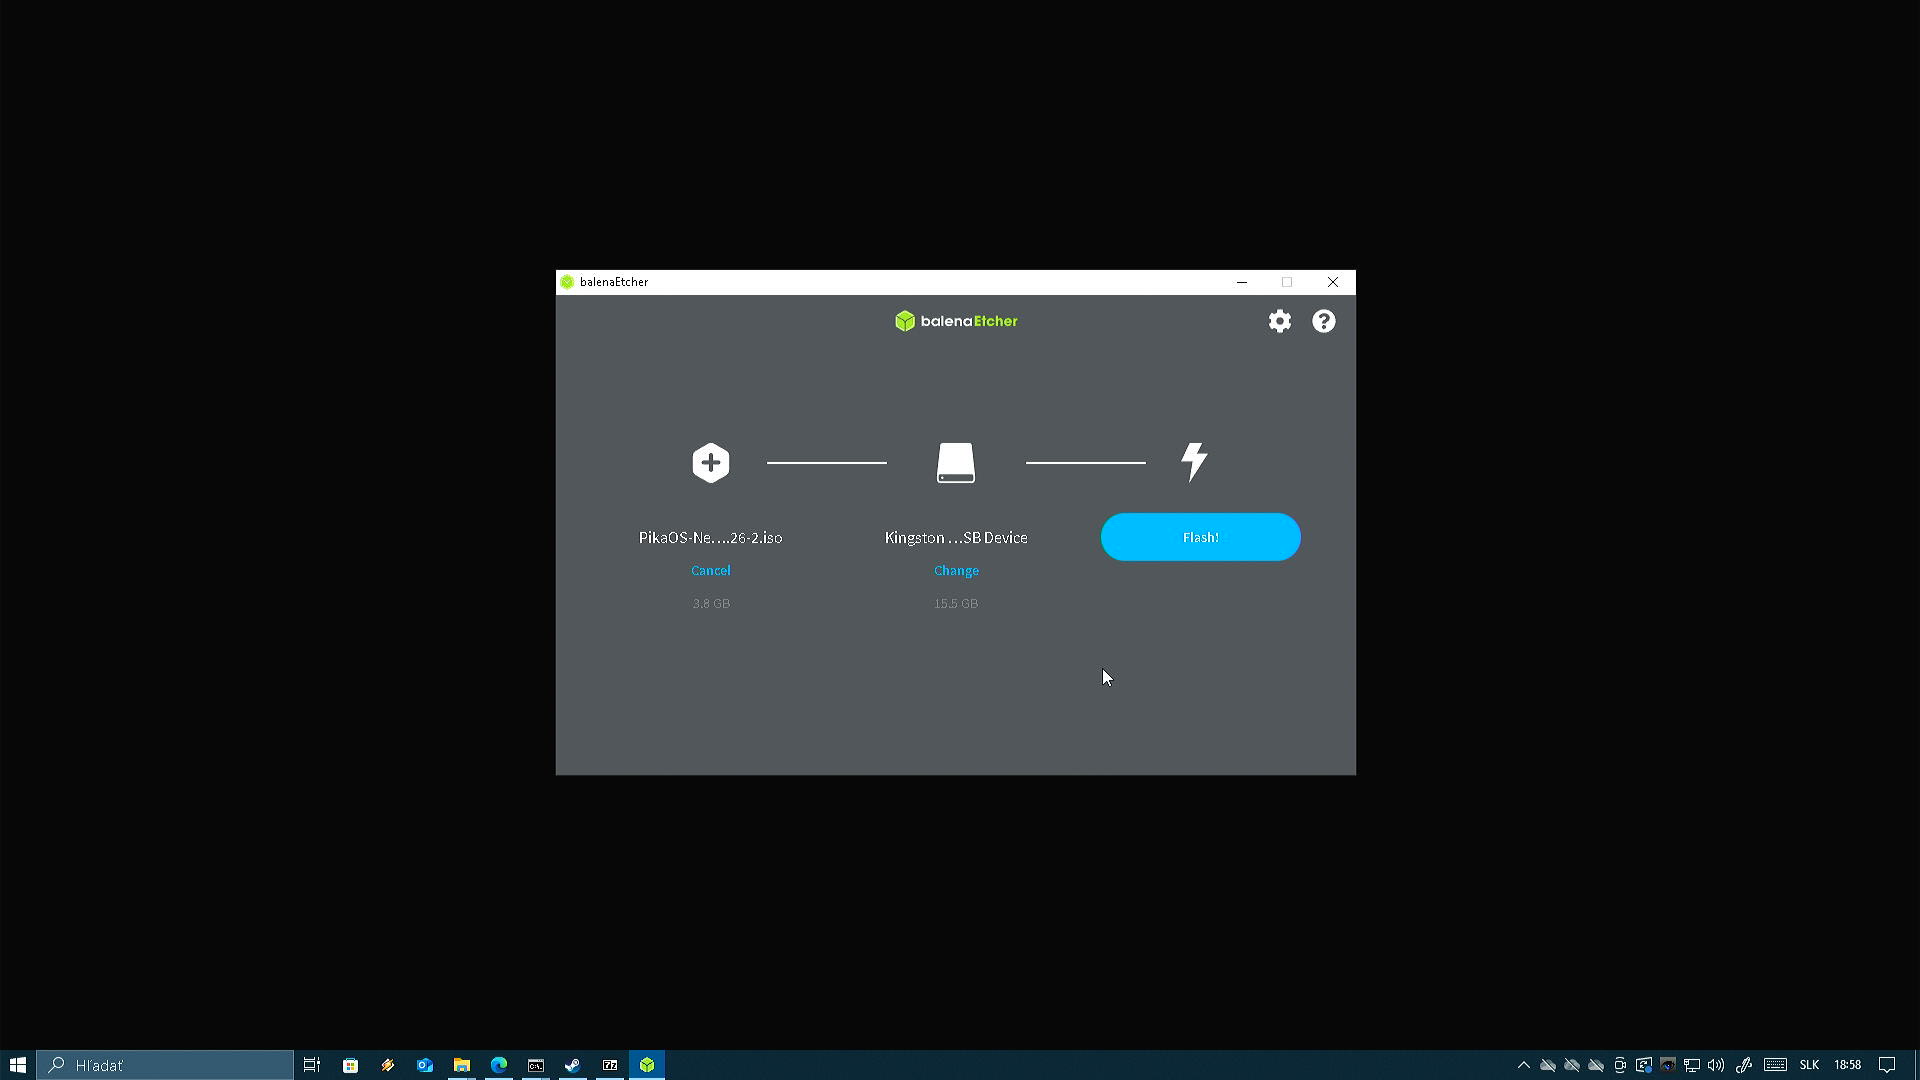
DANGER
Be very careful to select the correct drive. Flashing will erase all data on the selected drive.
- Click "Flash!" and wait for the process to complete.
TIP
Now it's time to get a coffee or tea, as this process can take a while depending on your USB drive and computer speed.
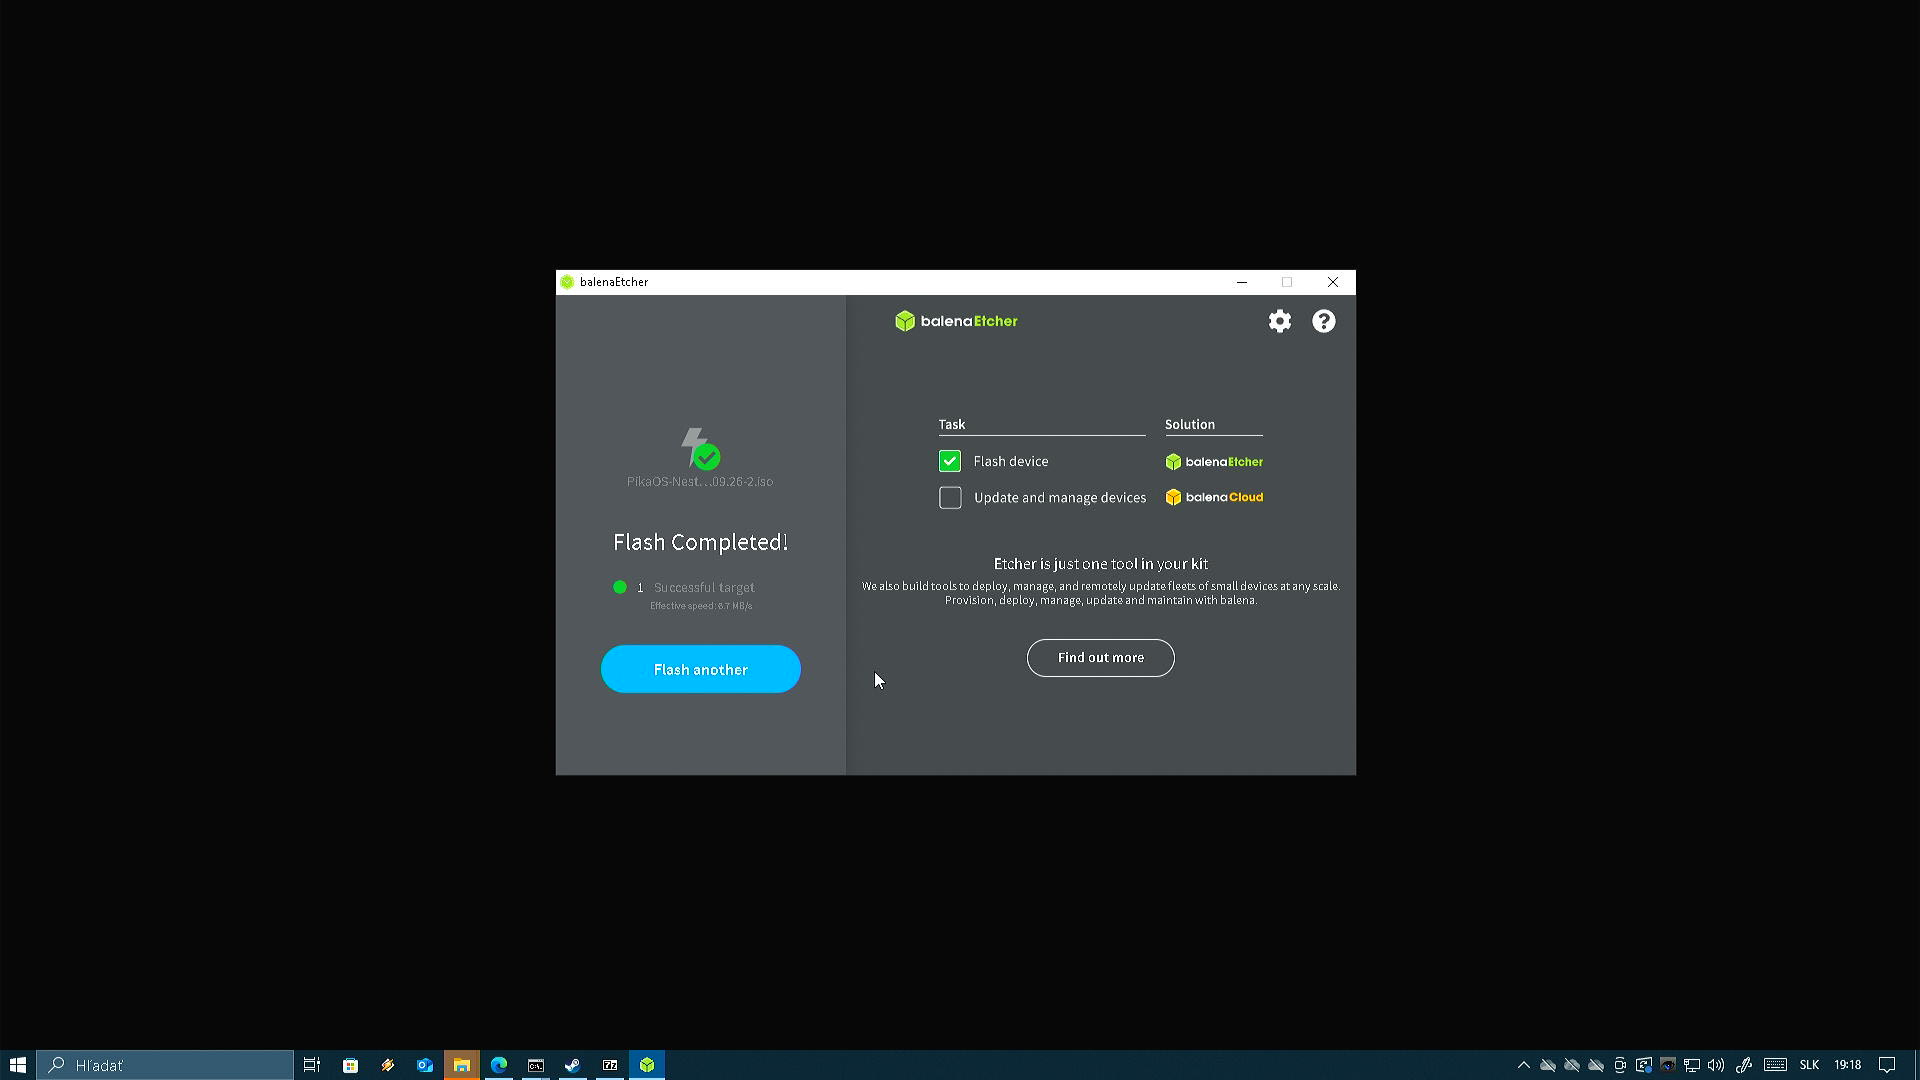
After the flashing is complete, you should see a message that the process was successful:
2. Boot from the USB Drive
Now you need to tell your computer to start from the USB drive instead of its internal hard drive.
Keep the USB drive inserted
Restart or turn on the computer.
Enter the BIOS/UEFI setup. As the computer starts, press a specific key to enter the setup menu. Common keys are
F2,F10,F12,Del, orEsc. The correct key is often displayed on the screen during startup, or can be found in your motherboard/laptop manual. Just google "how to enter BIOS [your computer model]" if you're unsure.Change the boot order. In the BIOS/UEFI menu, find the "Boot" or "Boot Order" section. Move the USB drive to the top of the list.
Save and Exit. Your computer will now restart and boot from the USB drive.
WARNING
This installation guide assumes you are installing Linux on a computer that already has an operating system (like Windows) installed. If you are installing Linux on a new computer or one without an OS, the steps may vary slightly.
Disable Secure Boot if necessary
Some systems have something called "Secure Boot" enabled by default. Secure Boot checkes that the operating system is trusted before allowing it to boot. Many Linux distributions can work with Secure Boot, but if you encounter issues booting from the USB, you may need to disable it in the BIOS/UEFI settings as a diagnostic step. Look for a "Secure Boot" option and set it to "Disabled". It is also recommended to disable "Fast Boot" if present.
3. The Installation Process
Once your computer boots from the USB drive, you will see the PikaOS boot screen: 
Here, just press Enter to start the live session. You will be taken to the PikaOS desktop with installation dialog:
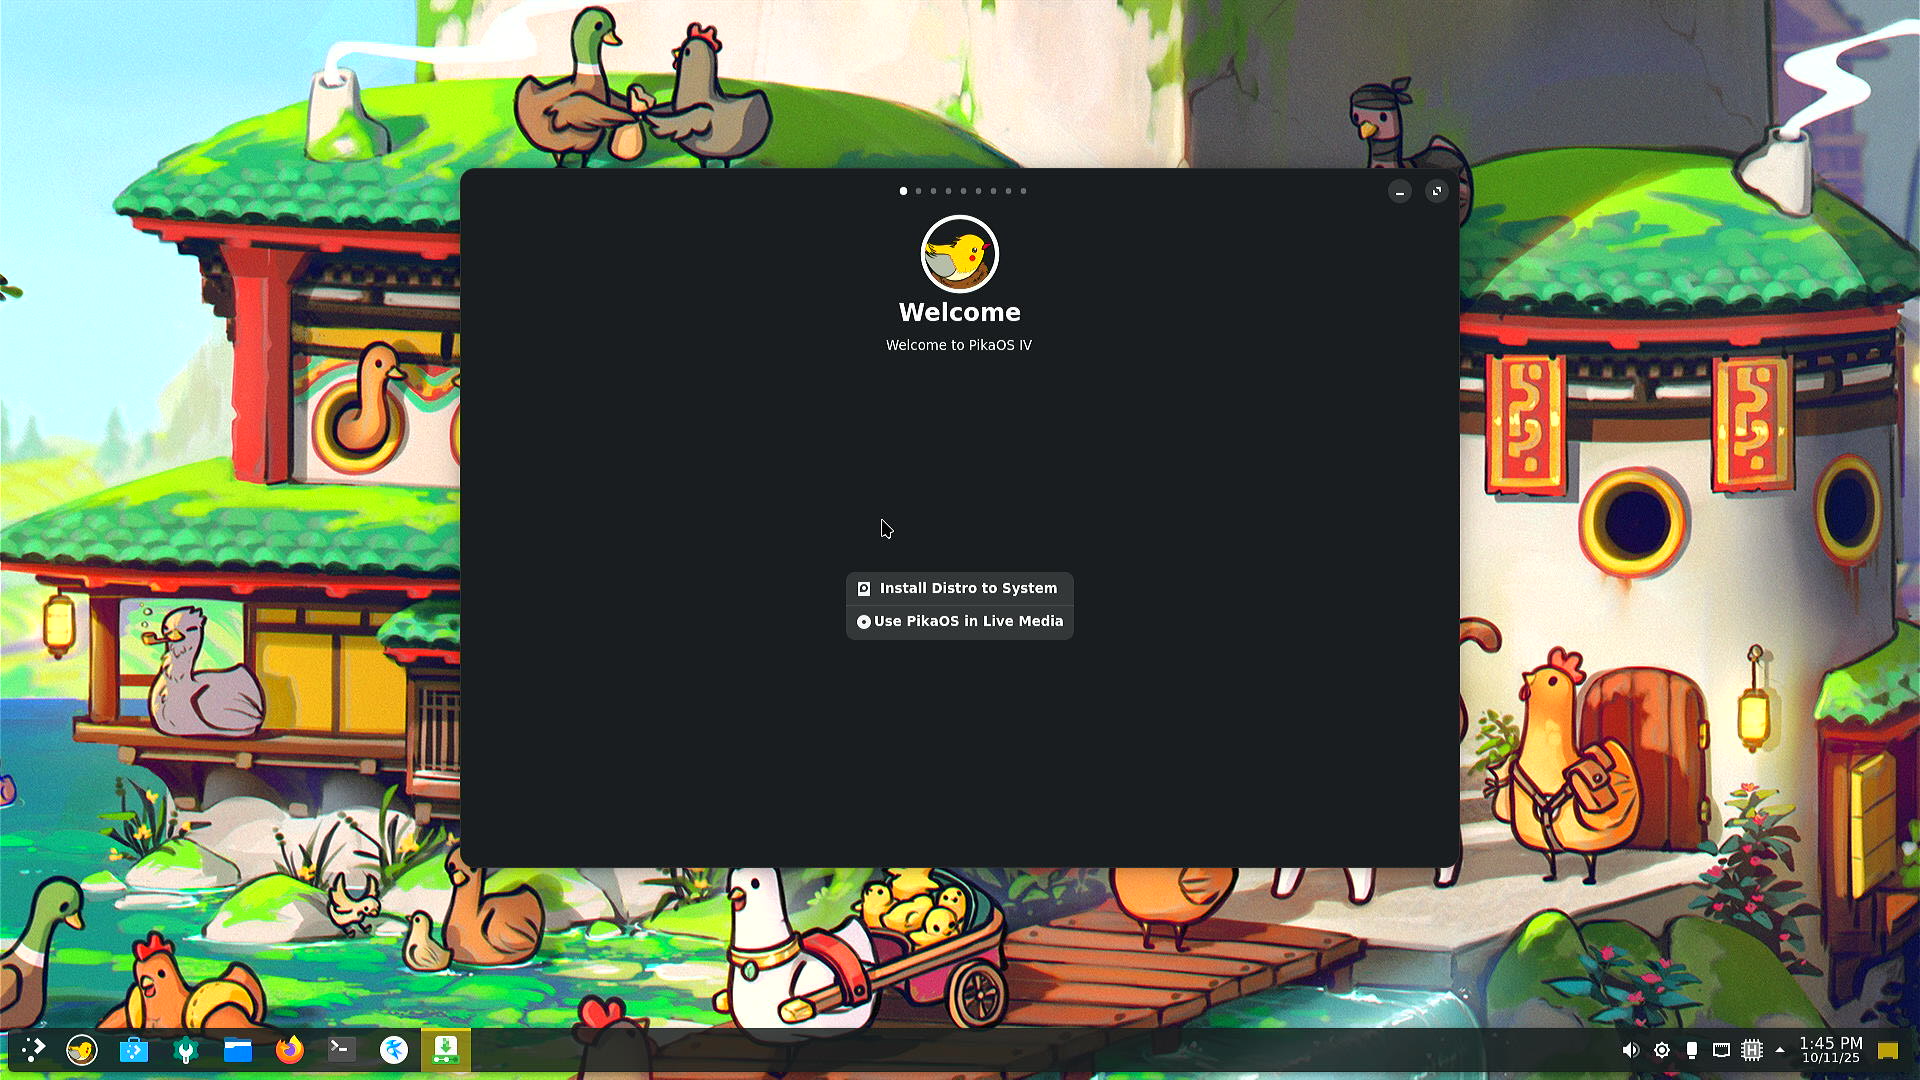
You have two options:
- Install distro to system: This will start the installation process.
- Use PikaOS in Live Media: This will let you explore the live environment without making any changes to your system. Here, you can test the feel of PikaOS.
Select "Install distro to system" to start the installation. You will be guided through a series of steps such as selecting your language, keyboard layout, time zone, and creating a user account. Follow the prompts and provide the necessary information.
When you reach the partitioning step, you can choose to erase the entire disk or install alongside an existing operating system. We recommend for installing alongside Windows, as it will set up a dual-boot system allowing you to choose between Windows and Linux at startup.
The installation process will take some time. Once it is complete, you will be prompted to restart your computer:
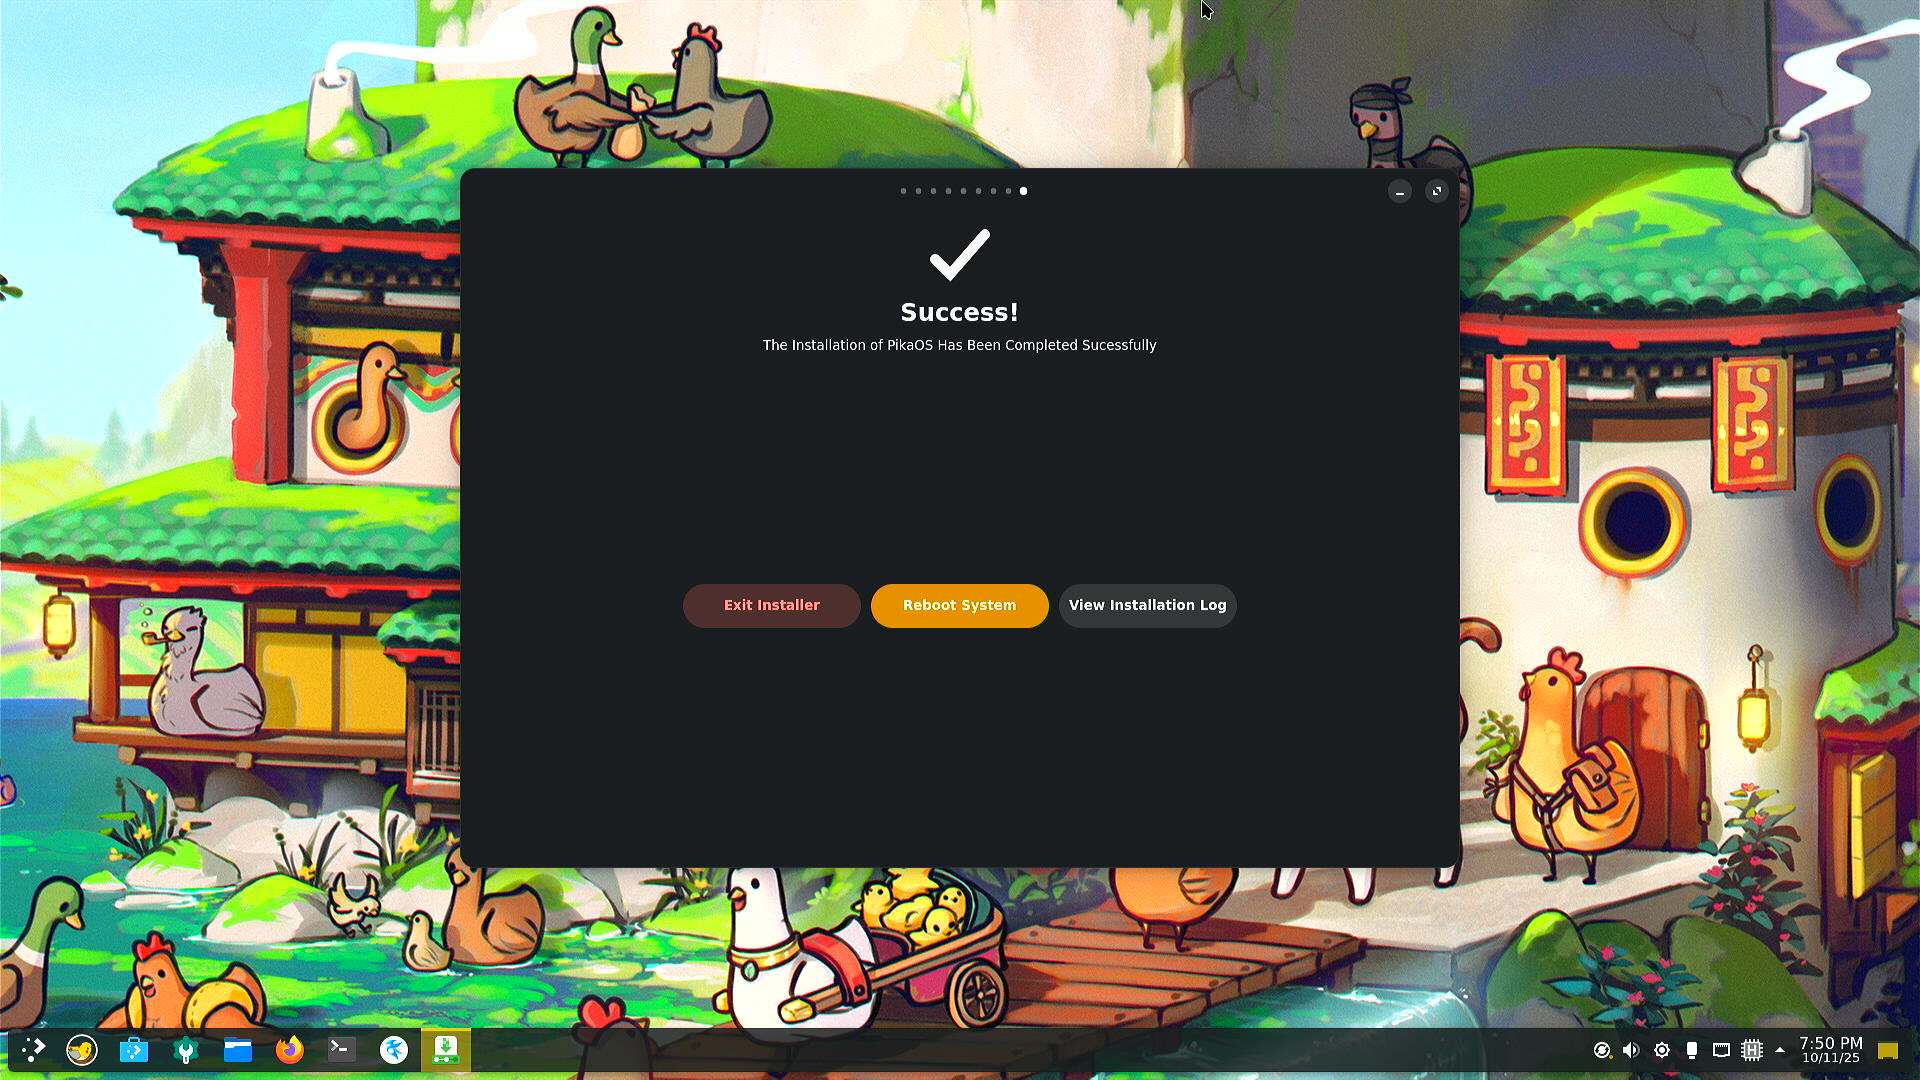
4. First Boot
Once the installation is complete, you will be prompted to restart your computer.
- Remove the USB drive.
- Press
Restart. - Your computer will boot into your new PikaOS installation.
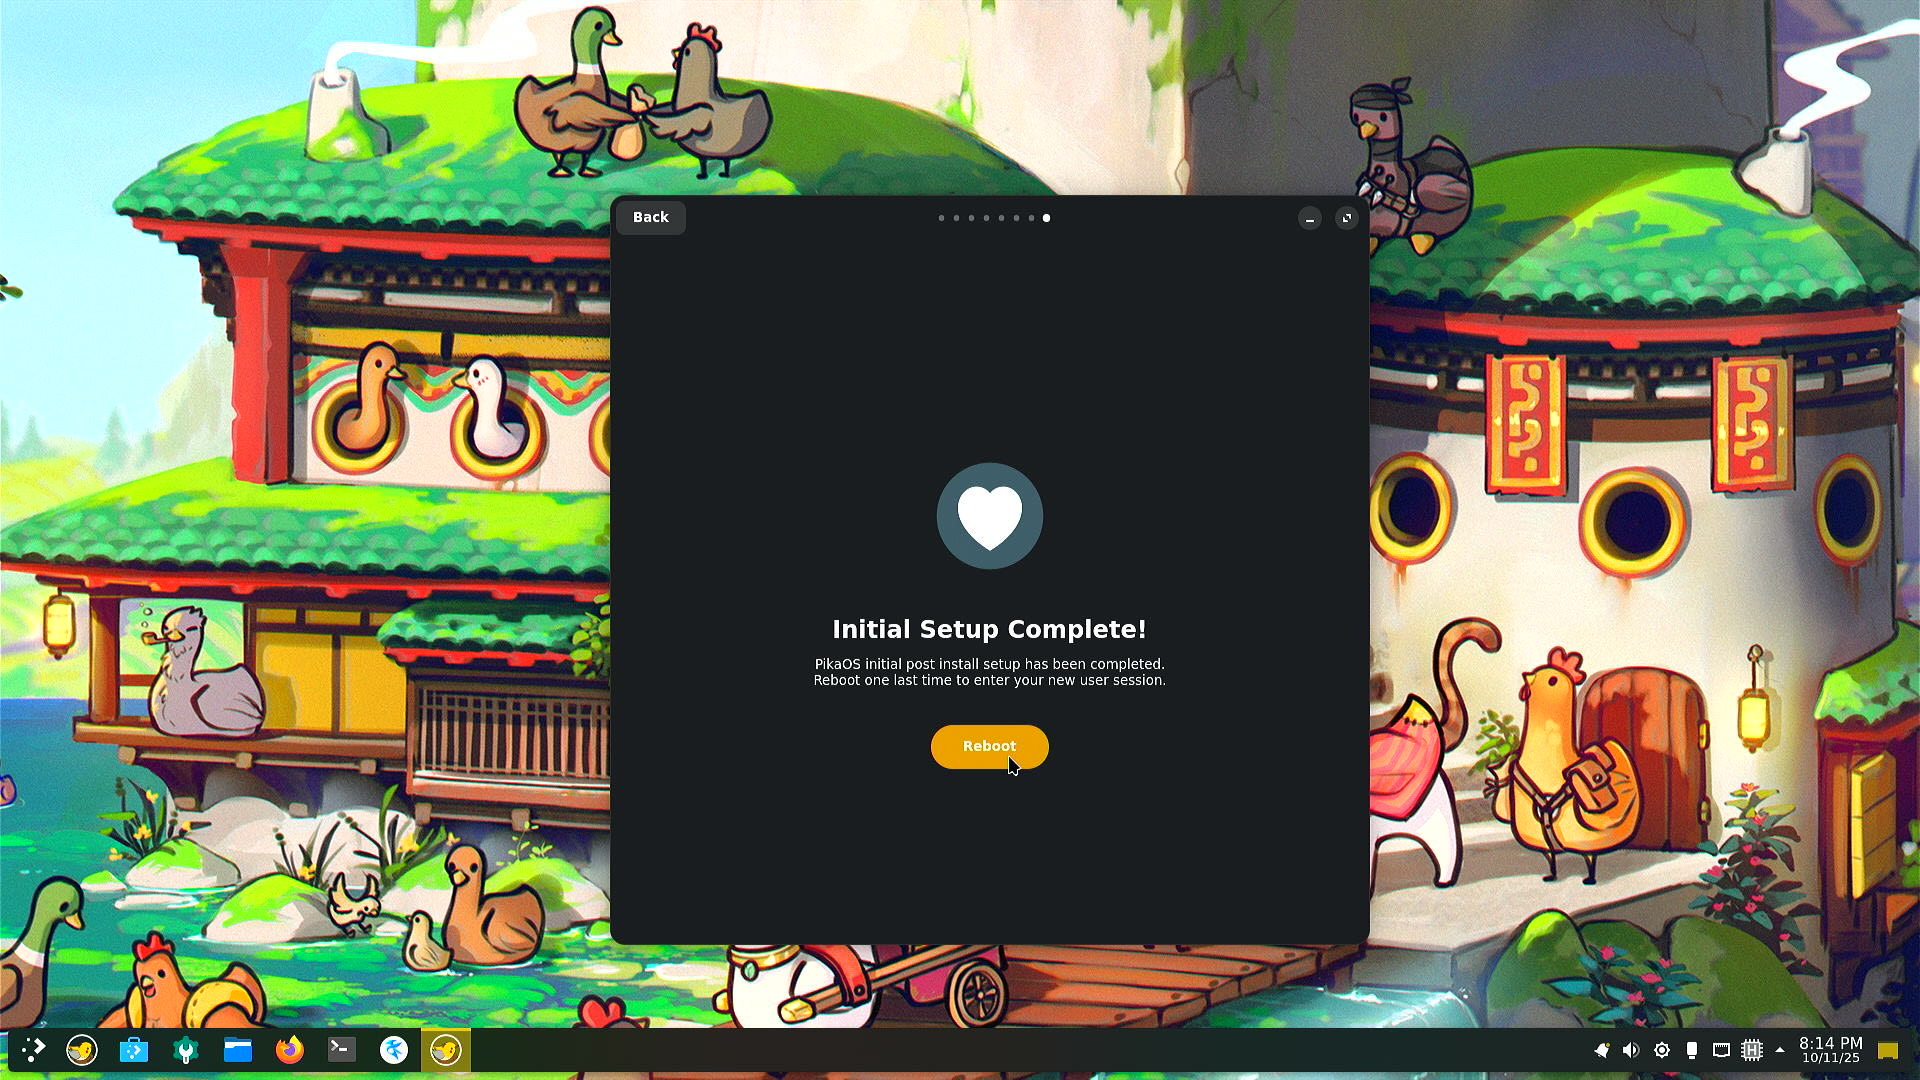
Congratulations, you have successfully installed PikaOS! PikaOS will now prompt you to perform initial setup tasks. After completing restart, you should see the following screen:

Press continue and follow the prompts to complete the setup. Make sure to update when prompted. Also make sure to install additional multimedia codecs and PikaOS Gaming meta packages.
After all of this, you should be prompted for one last restart:
5. Setting up basic software
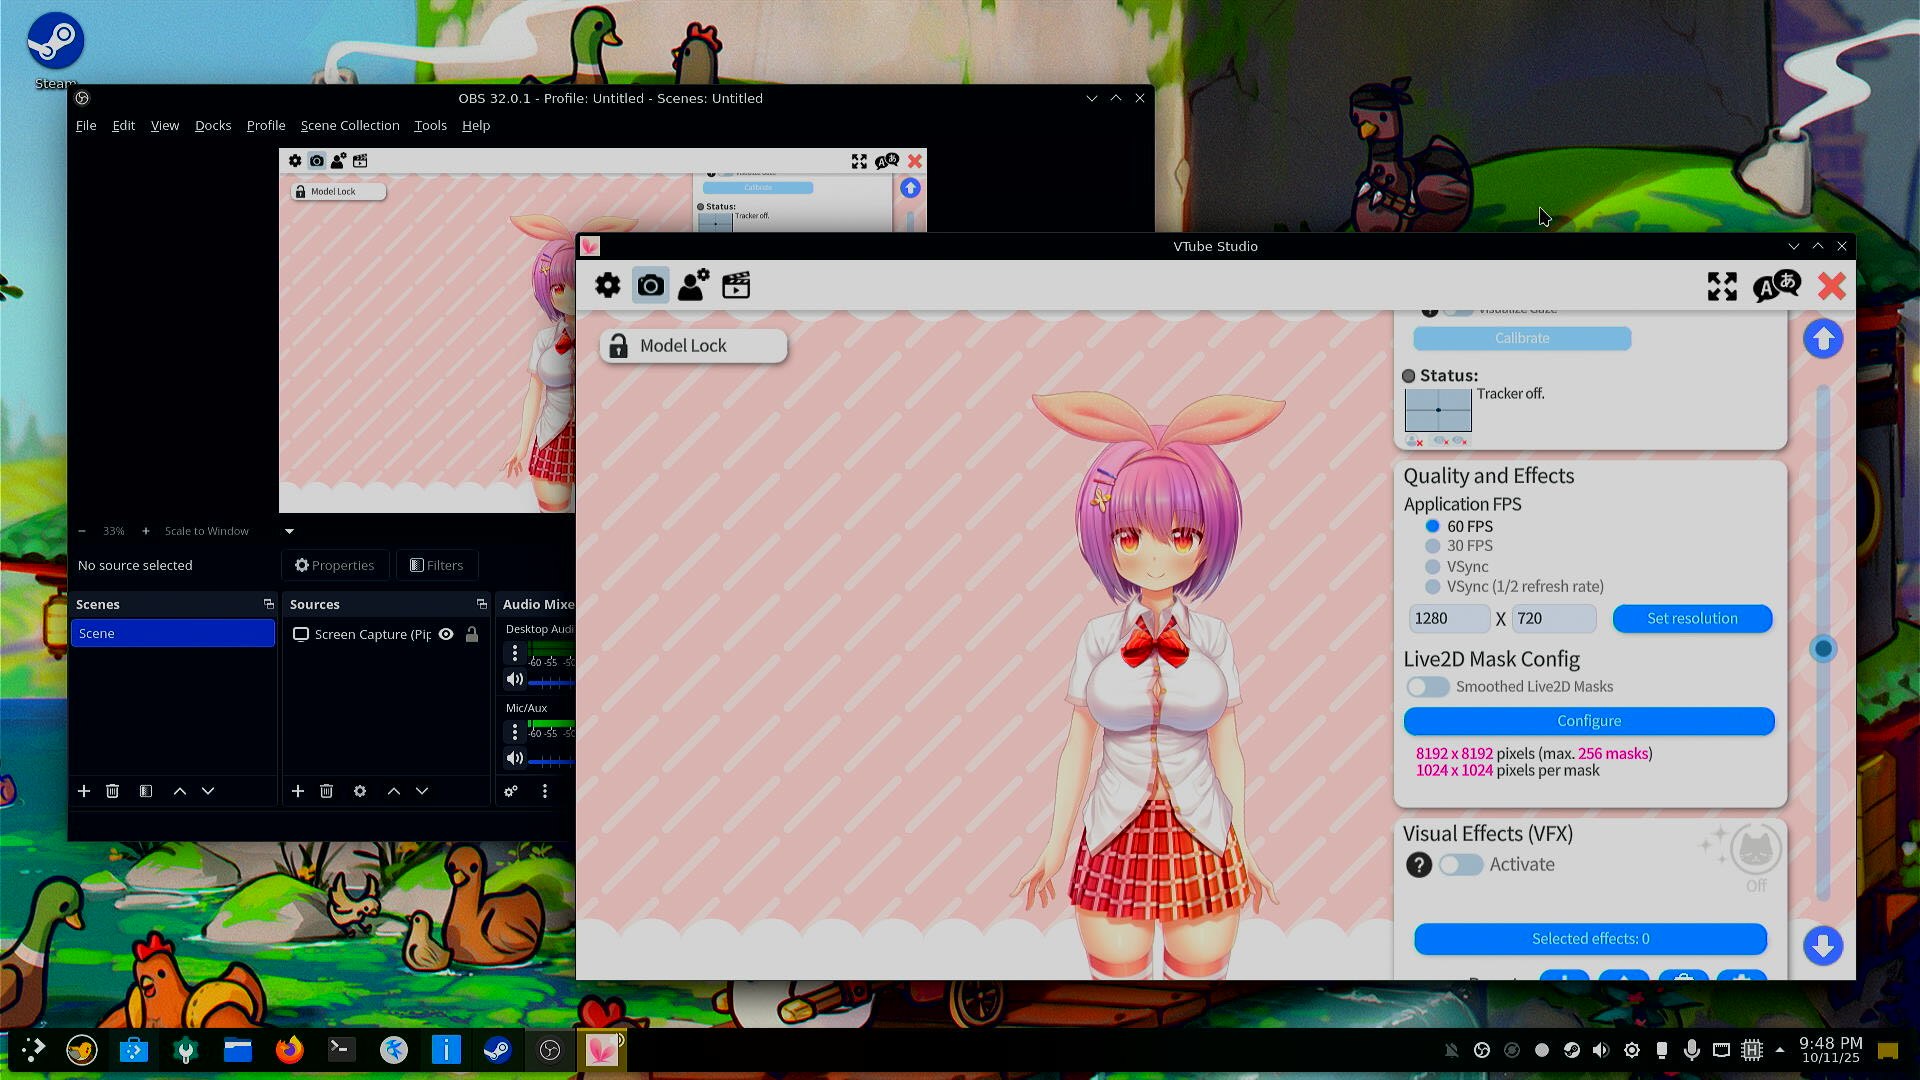
Steam (and VTube Studio)
For streaming and VTubing, you will need some additional software, such as OBS and Steam (for VTube Studio). PikaOS comes with Steam by default. You can open it in application menu.

For installation of VTube Studio, please refer to the 2D VTubing section of this guide. After the installation of VTube Studio, come back for installation of OBS.
OBS
WARNING
On PikaOS, if there is any issue with OBS, use the flatpak version of OBS.
OBS isn't installed by default. In Application Menu, find app called Discover. Discover will help you navigate installation of new software without touching terminal. Open Discover and search for "OBS". Then click top right install button:
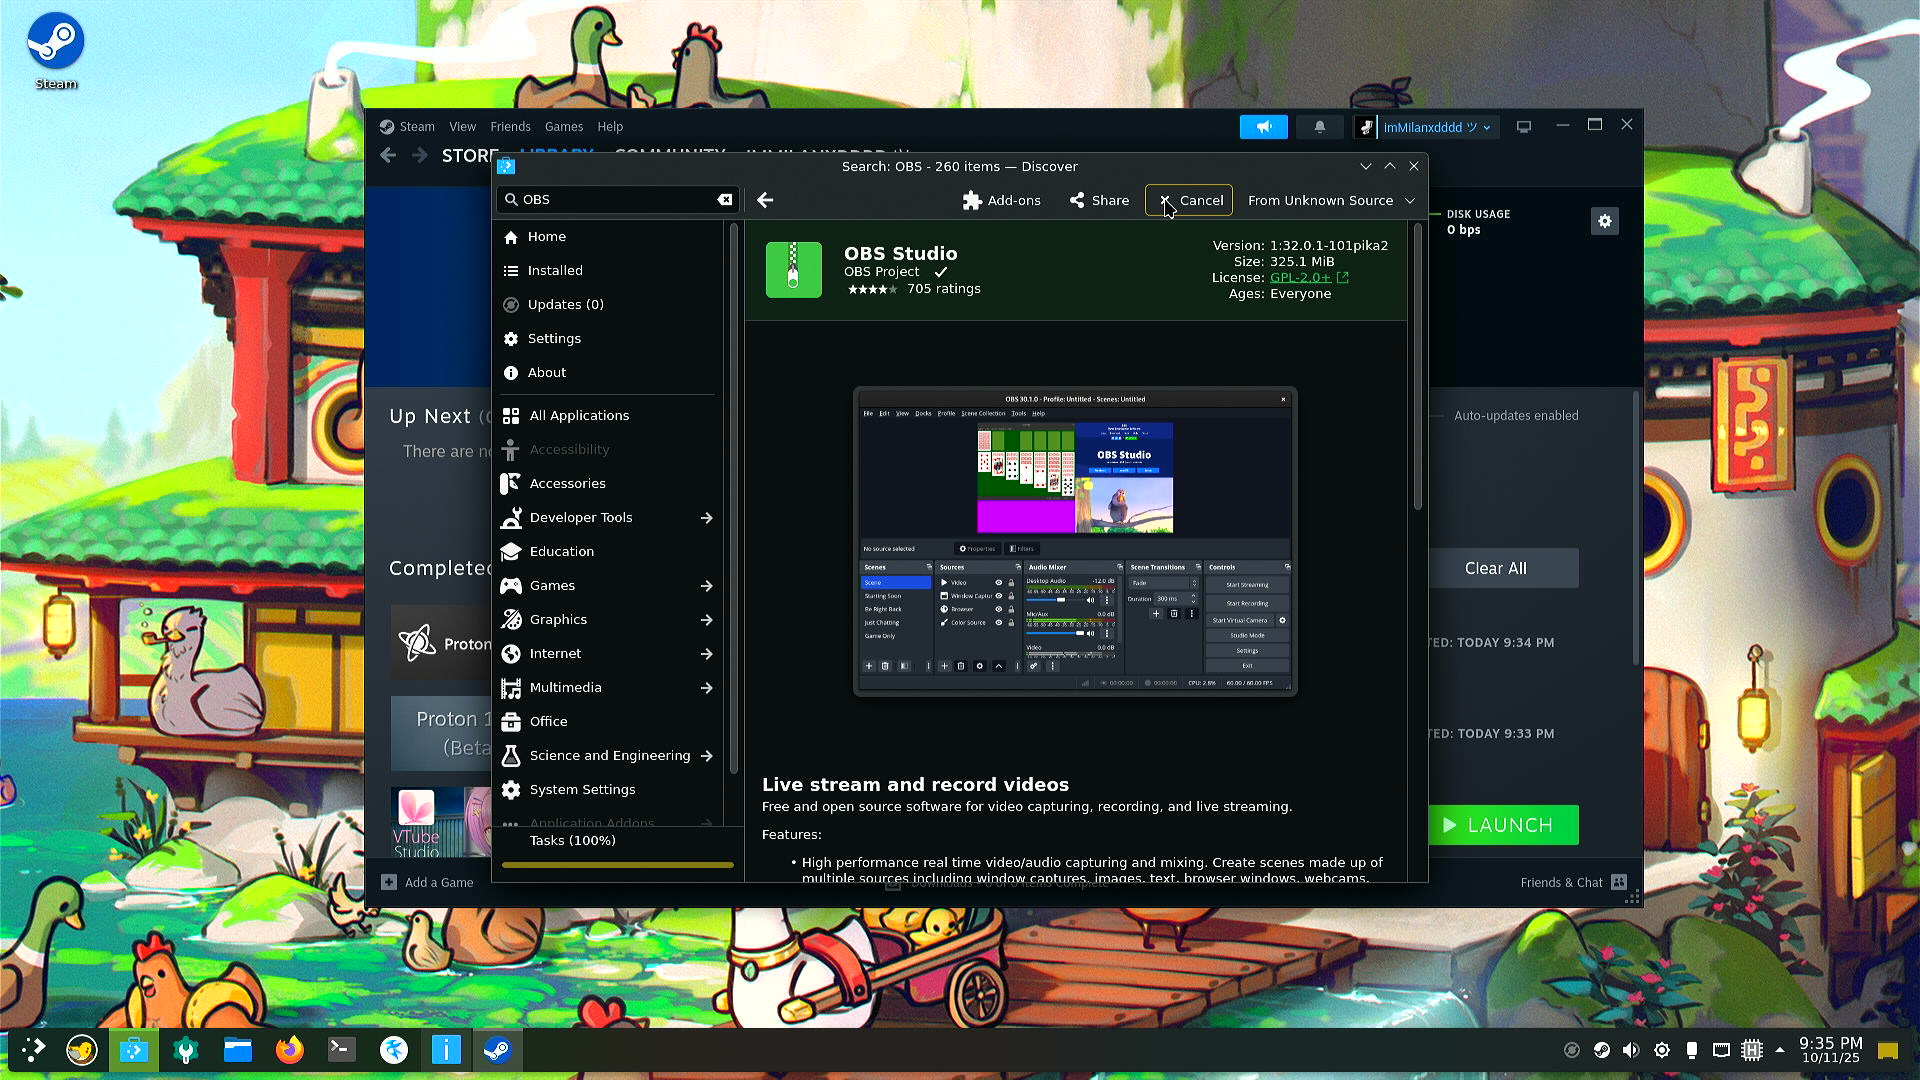
You will be prompted for your password. After installation is complete, you can open OBS from Application Menu and follow the OBS section of this guide to set it up for streaming and recording.
After following those steps, you should be ready to start VTubing on Linux!